How to Set Up a CI/CD Pipeline for AWS Lambda With GitHub Actions and Serverless
A CI/CD pipeline functional for your project is incredibly valuable as a developer. Thankfully, it’s not difficult to set up such a pipeline with Github Actions.
In my previous article, Set up a CI/CD Pipeline for your Web app on AWS with Github Actions, I demonstrated how to set up a CI/CD pipeline for your front end application. This time, I’ll focus on the back end.
I’m going to give you a quick and easy, step-by-step tutorial on setting up a CI/CD Pipeline for AWS Lambda with Github
Actions. For my AWS Lambda, I chose Python for the runtime. I’ll also cover how to include Python packages such
as scikit-learn or pandas.
TL;DR
If you don't want to read the complete post, just copy the action
and Serverless configuration from this Github repository and
add the Github secrets to your repository. If you fail, come back and read the article!
Requirements
This post assumes you have the Serverless Framework for deploying an AWS Lambda function installed a configured, as well as a working Github account and Docker installed. The Serverless Framework helps us develop and deploy AWS Lambda functions. It’s a CLI that offers structure, automation, and best practices right out of the box. It also allows you to focus on building sophisticated, event-driven, serverless architectures, comprised of functions and events.
![]()
If you aren’t familiar or haven’t set up the Serverless Framework, take a look at this quick-start with the Serverless Framework.
Now let’s get started with the tutorial.
Create AWS Lambda function
The first thing we are doing is creating our AWS Lambda function by using the Serverless CLI with the aws-python3
template.
serverless create --template aws-python3 --path <your-path>This CLI command will create a new directory with a handler.py, .gitignore and serverless.yaml file in it. The
handler.py contains some basic boilerplate code.
import json


def hello(event, context):
    body = {
        "message": "Go Serverless v1.0! Your function executed successfully!",
        "input":event
    }
    response = {
        "statusCode": 200,
        "body": json.dumps(body)
    }
    return response
The serverless.yaml contains the configuration for deploying the function. if you are interested in what can be
configured with the serverless.yaml take a look
here.
Add Python Requirements
Next, we are adding our Python Requirements to our AWS Lambda function. For this we are using the Serverless plugin
serverless-python-requirements . It automatically bundle requirements from a requirements.txt and makes them
available in our PYTHONPATH. The serverless-python-requirements plugin allows you to even bundle non-pure-Python
modules.
if you are interested take a look here.
Installing the plugin
To install the plugin run the following command.
serverless plugin install -n serverless-python-requirementsThis will automatically add the plugin to your project's package.json and to the plugins section in the
serverless.yml. The next step is adjusting the serverless.yaml and including the custom Python requirement
configuration. We need this extra configuration because our Github Actions runtime is Node and with the configuration,
we can bundle our python requirements in a docker container.
I also...
- deleted all comments
- add HTTP-Event
- add the
packagesection to exclude thenode_moduluesfrom deploying - change the region to
eu-central-1
service: <name-of-your-function>

provider:
  name: aws
  runtime: python3.7
  region: eu-central-1

custom:
  pythonRequirements:
    dockerizePip: true

package:
  individually: false
  exclude:
    - package.json
    - package-log.json
    - node_modules/**

functions:
  get_joke:
    handler: handler.get_joke
    events:
      - http:
          path: joke
          method: get

plugins:
  - serverless-python-requirements
Creating deploy script
In addition to our configuration in the serverless.yaml we need to edit the package.json and include serverless as
devDependencies. Additionally, we add a deploy script to deploy the function later. We are going to use this deploy
script in the Github Action later.
{
  "name": "blog-github-actions-aws-lambda-python",
  "description": "",
  "version": "0.1.0",
  "dependencies": {},
  "scripts": {
    "deploy": "serverless deploy"
  },
  "devDependencies": {
    "serverless": "^1.67.0",
    "serverless-python-requirements": "^5.1.0"
  }
}
Adding Requirements to requirements.txt
We have to create a requirements.txt file on the root level, with all required Python packages. But you have to be
careful that the deployment package size cannot go over 250MB unzipped. You can find a list of all AWS Lambda
limitations here.
Another tip: the boto3 package is already pre-installed you don´t have to include it in the requirements.txt.
For demonstration purposes, i choose the pyjokes packages and let the function respond with a joke to all requests. I
include pyjokes in the requirements.txt
pyjokesAfterward i add pyjokes to the function in handler.py and return a random joke.
import json
import pyjokes


def get_joke(event, context):
    body = {
        "message": "Go Serverless v1.0! Your function executed successfully!",
        "joke":pyjokes.get_joke()
    }
    response = {
        "statusCode": 200,
        "body": json.dumps(body)
    }
    return response
Deploy Function manually
Before using Github Actions we are deploying the function by hand with the following command.
Attention Docker must be up and running.
npm run-script deployIn your CLI you should see an output like this.
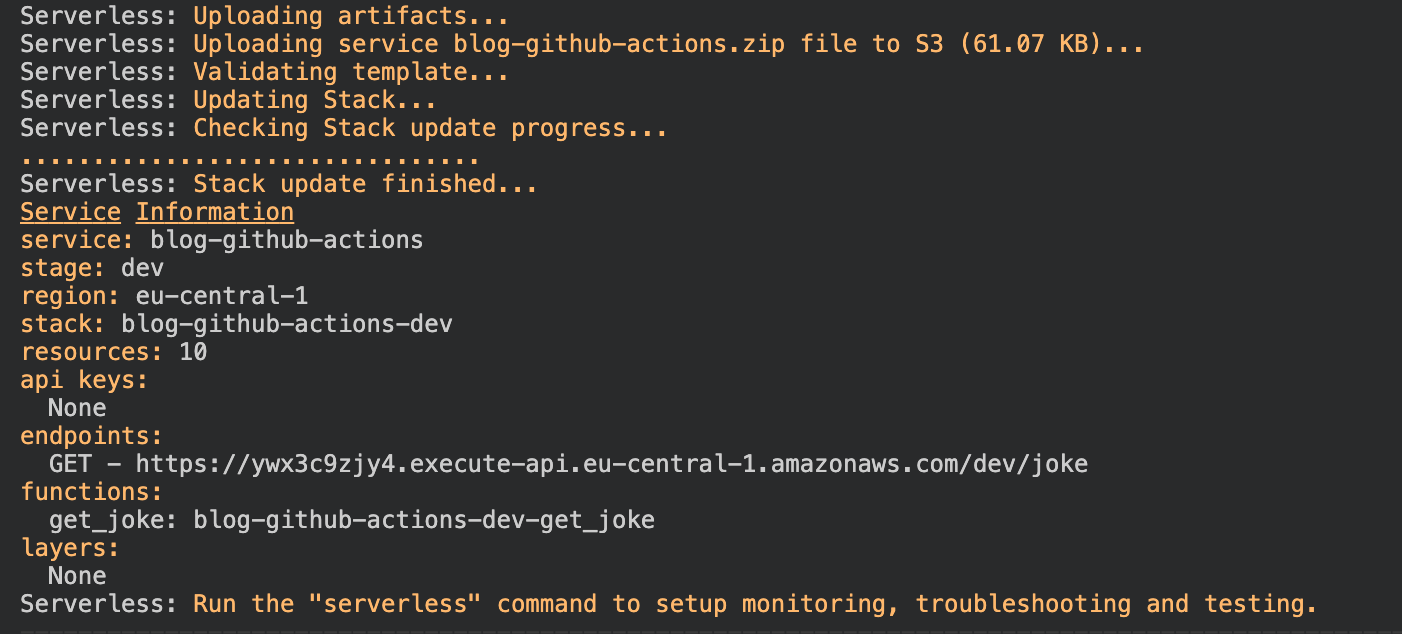
We can test our function by clicking the url provided in the endpoints section.

Create Github Actions
Create folders & files
The first thing we have to do for our Action is to create the folder .github with a folder workflows in it on your
project root level. Afterwards create the deploy-aws-lambda.yaml file in it.
Creating the Github Action
Copy this code snippet into the deploy-aws-lambda.yaml file.
name: deploy-aws-lambda

on:
  push:
    branches:
      - master
jobs:
  deploy:
    runs-on: ubuntu-latest
    strategy:
      matrix:
        node-version: [10.x]
    steps:
      - uses: actions/checkout@master
      - name: Use Node.js ${{ matrix.node-version }}
        uses: actions/setup-node@v1
        with:
          node-version: ${{ matrix.node-version }}
      - name: Install Dependencies
        run: npm install
      - name: Configure AWS Credentials
        uses: aws-actions/configure-aws-credentials@v1
        with:
          aws-access-key-id: ${{ secrets.AWS_ACCESS_KEY_ID }}
          aws-secret-access-key: ${{ secrets.AWS_SECRET_ACCESS_KEY }}
          aws-region: eu-central-1
      - name: Serverless Deploy
        run: npm run-script deploy
This code snippet describes the Action. The Github Action will be triggered after a push on the master branch. You
can change this by adjusting the on section in the snippet. If you want a different trigger for your action look
here.
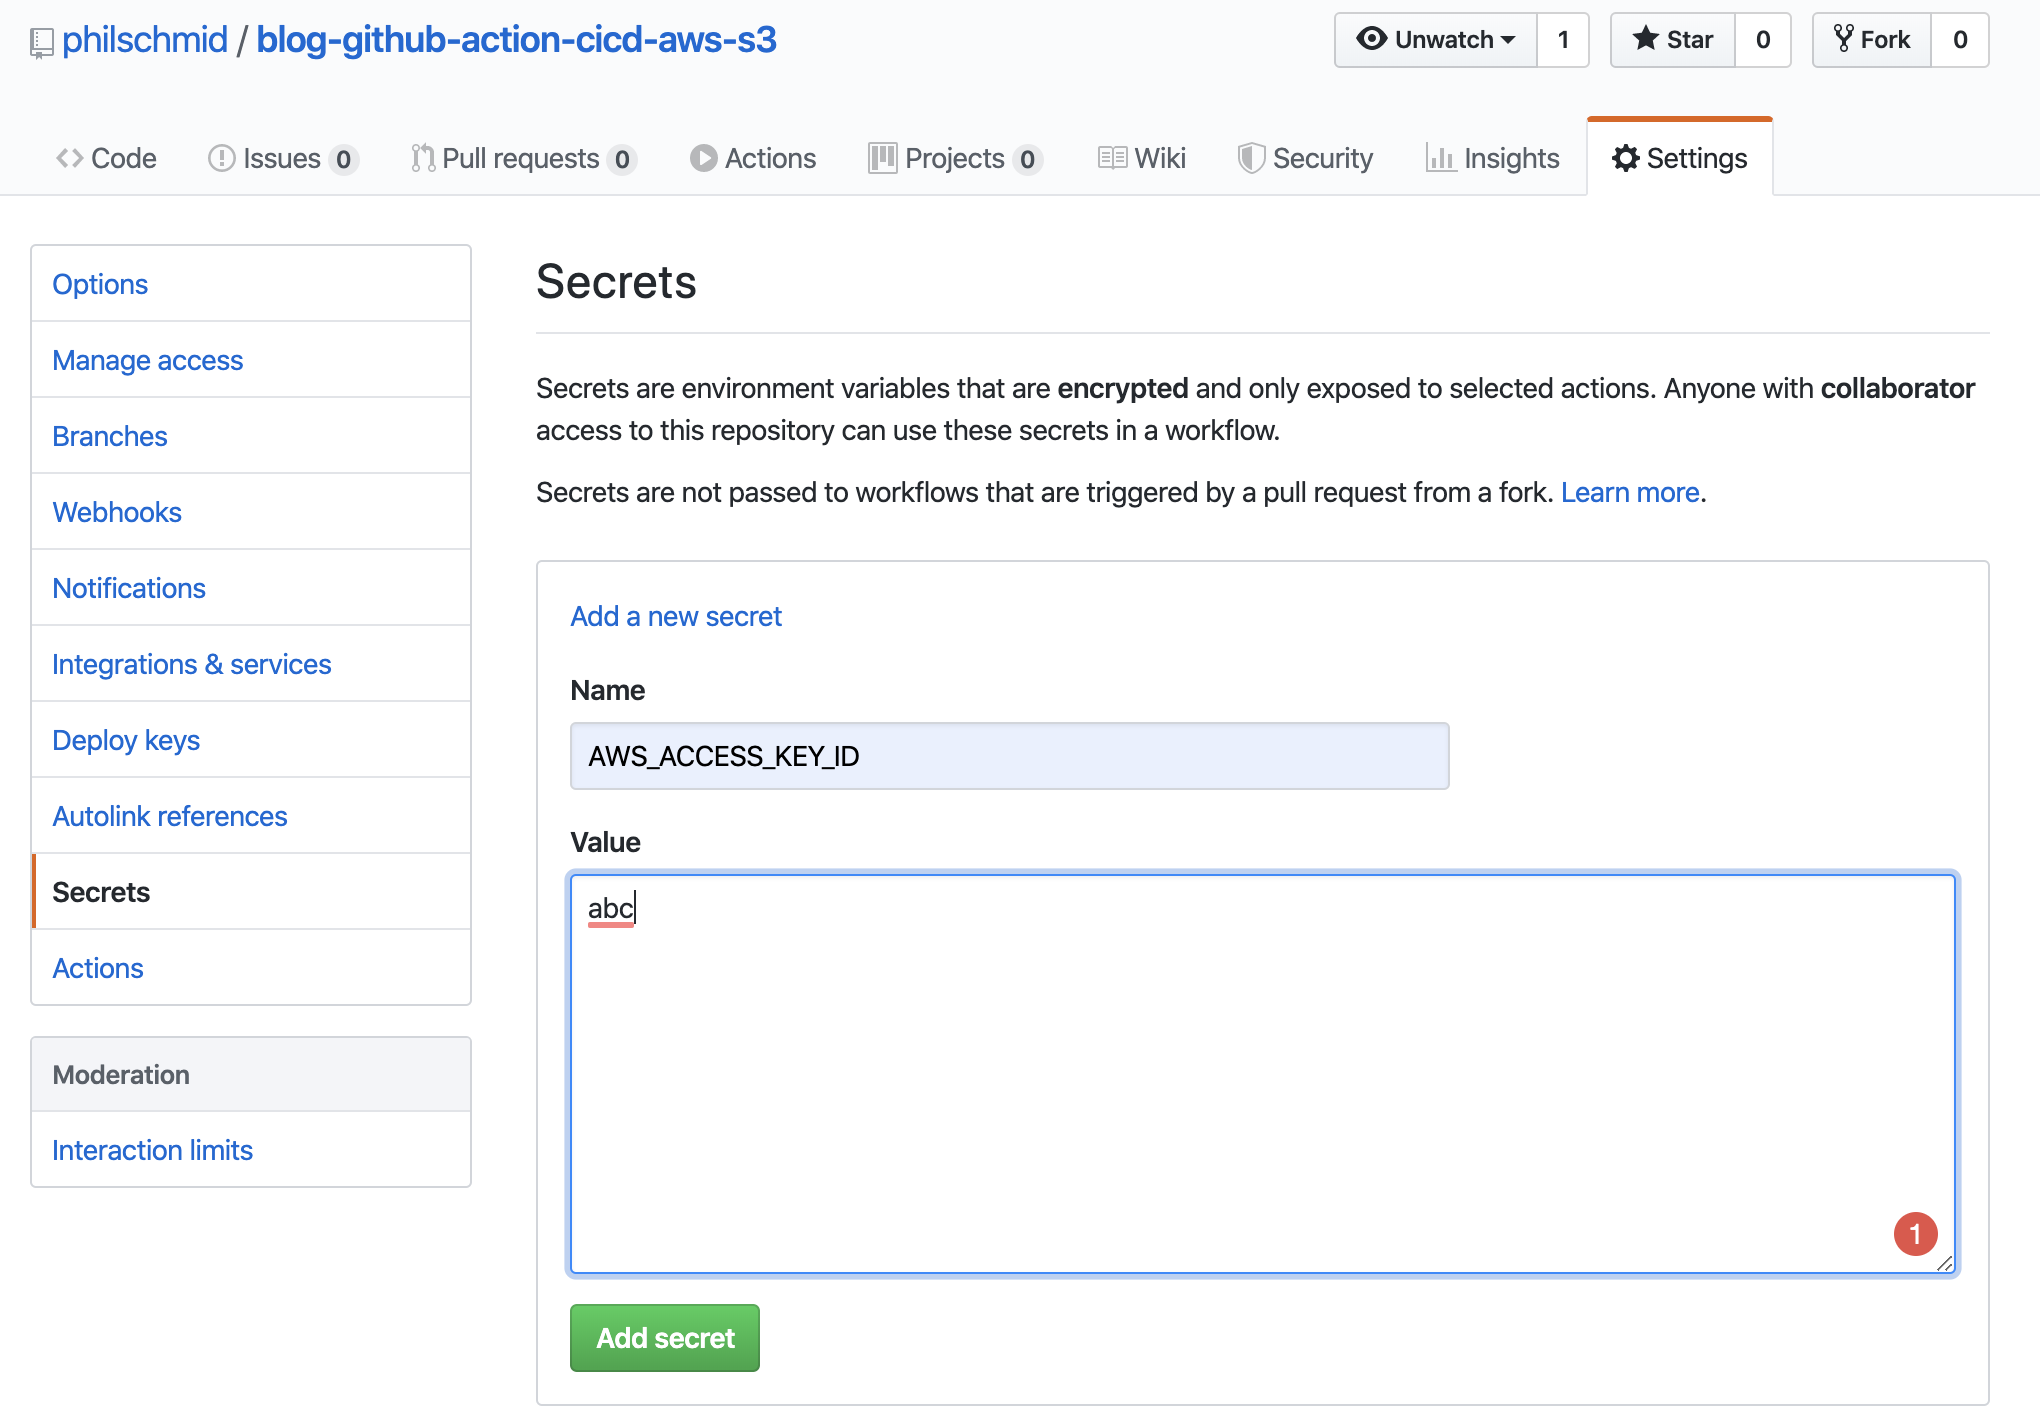
Add secrets to your repository
The third and last step is adding secrets to your Github repository. For this Github Action, we need the access key ID
and secret access key from IAM User as secrets called AWS_ACCESS_KEY_ID and AWS_SECRET_ACCESS_KEY.
If you are not sure how to create an IAM user for the access key ID and secret access key you can read here.
Adding the secrets
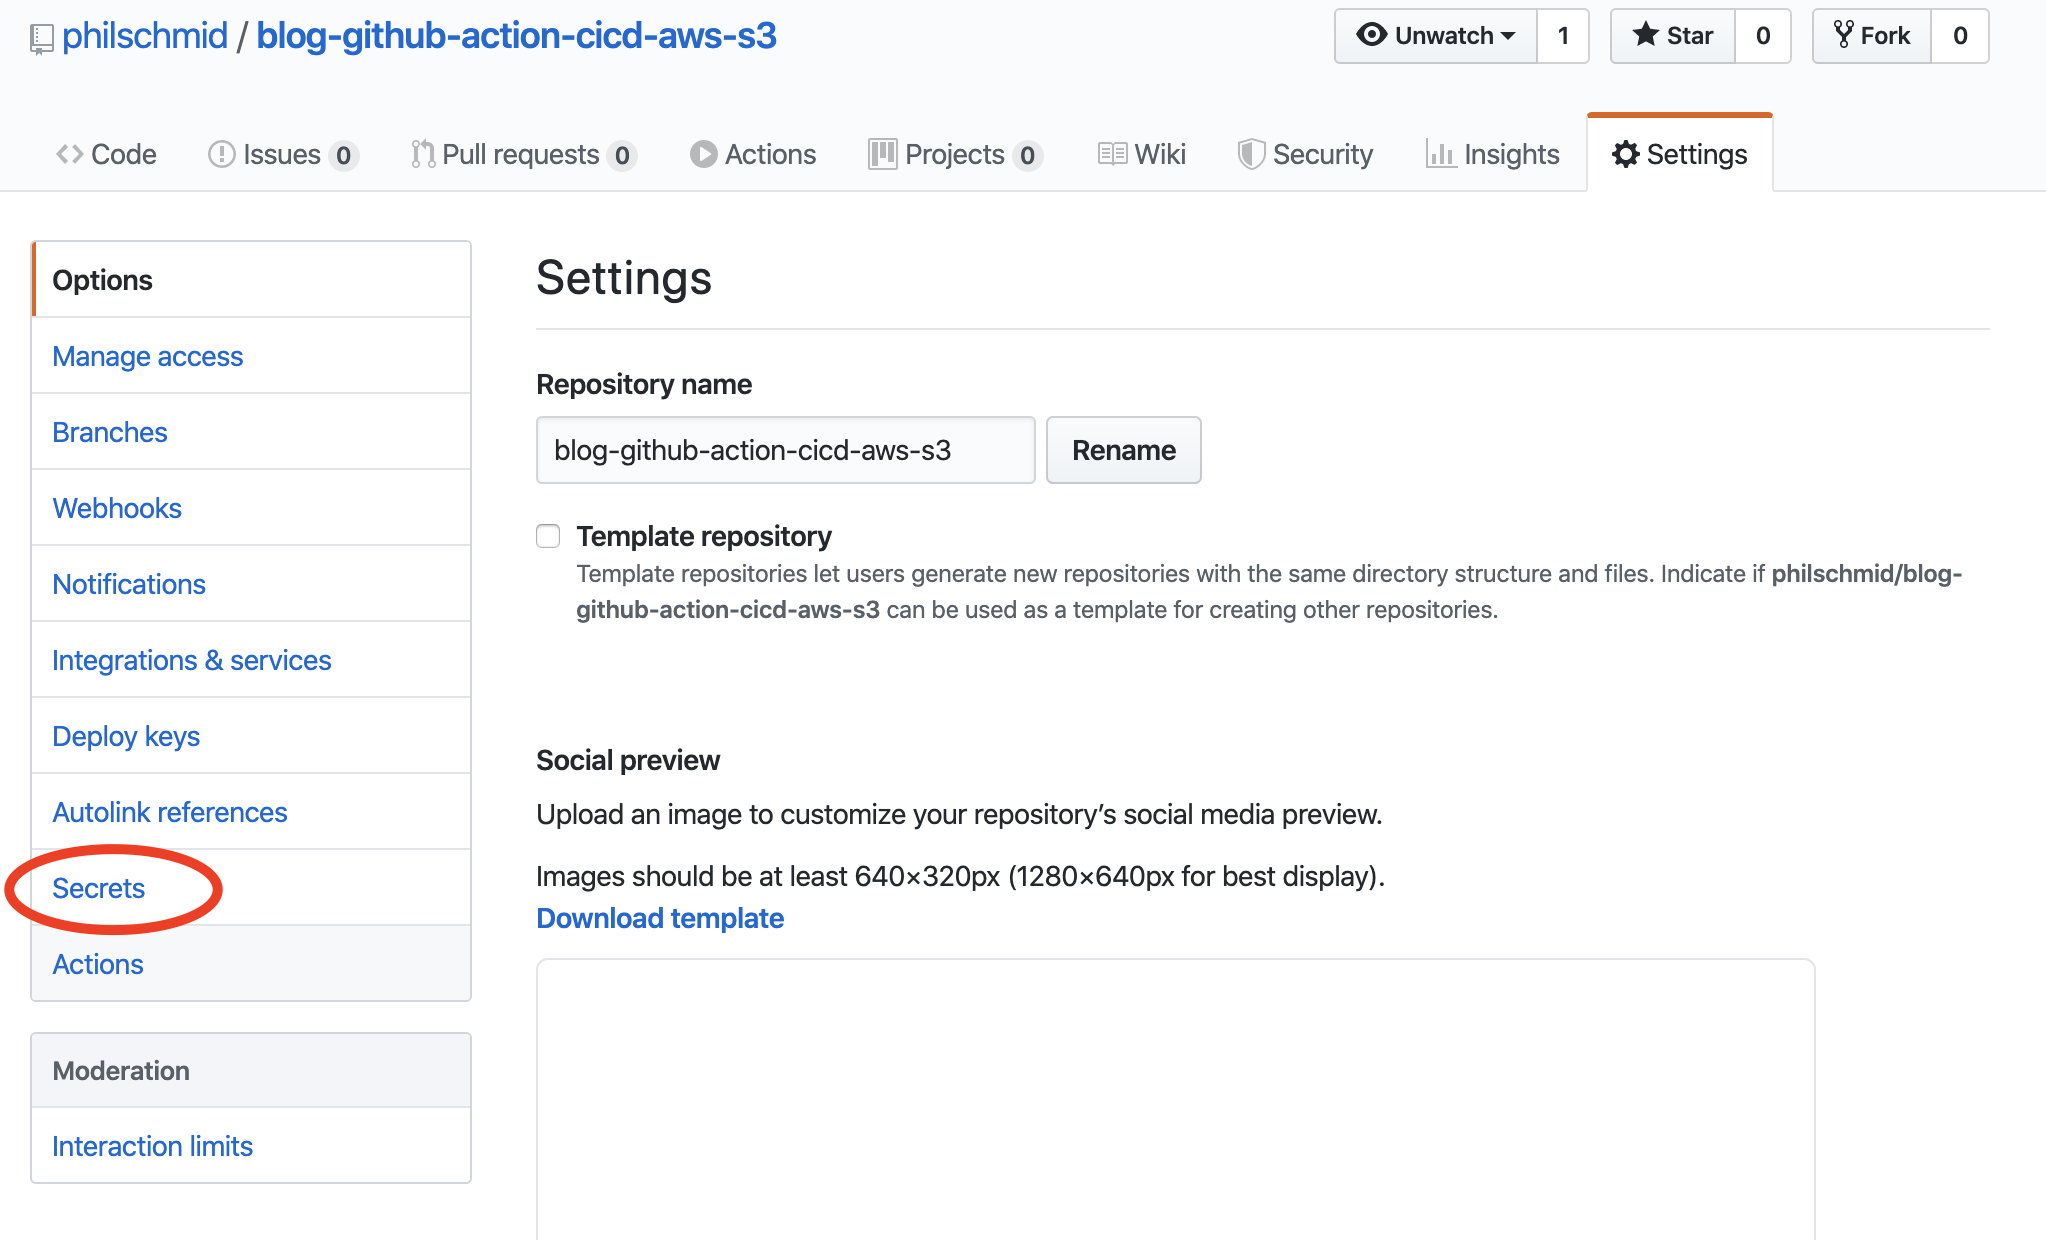
To add the secrets you have to go to the “settings” tab of your repository.

Then go to secrets in the left navigation panel.
On the secrets page, you can add your 2 secrets AWS_ACCESS_KEY_ID and AWS_SECRET_ACCESS_KEY.
Grab a coffee and enjoy it
We´re almost done. The Last step is to test it. Therefore edit the handler.py and push it to the master branch of your
repository.
import json
import pyjokes


def get_joke(event, context):
    body = {
        "message": "Greetings from Github. Your function is deployed by a Github Actions. Enjoy your joke",
        "joke":pyjokes.get_joke()
    }
    response = {
        "statusCode": 200,
        "body": json.dumps(body)
    }
    return response
After the push, we can see our Action deploying our AWS Lambda Function.
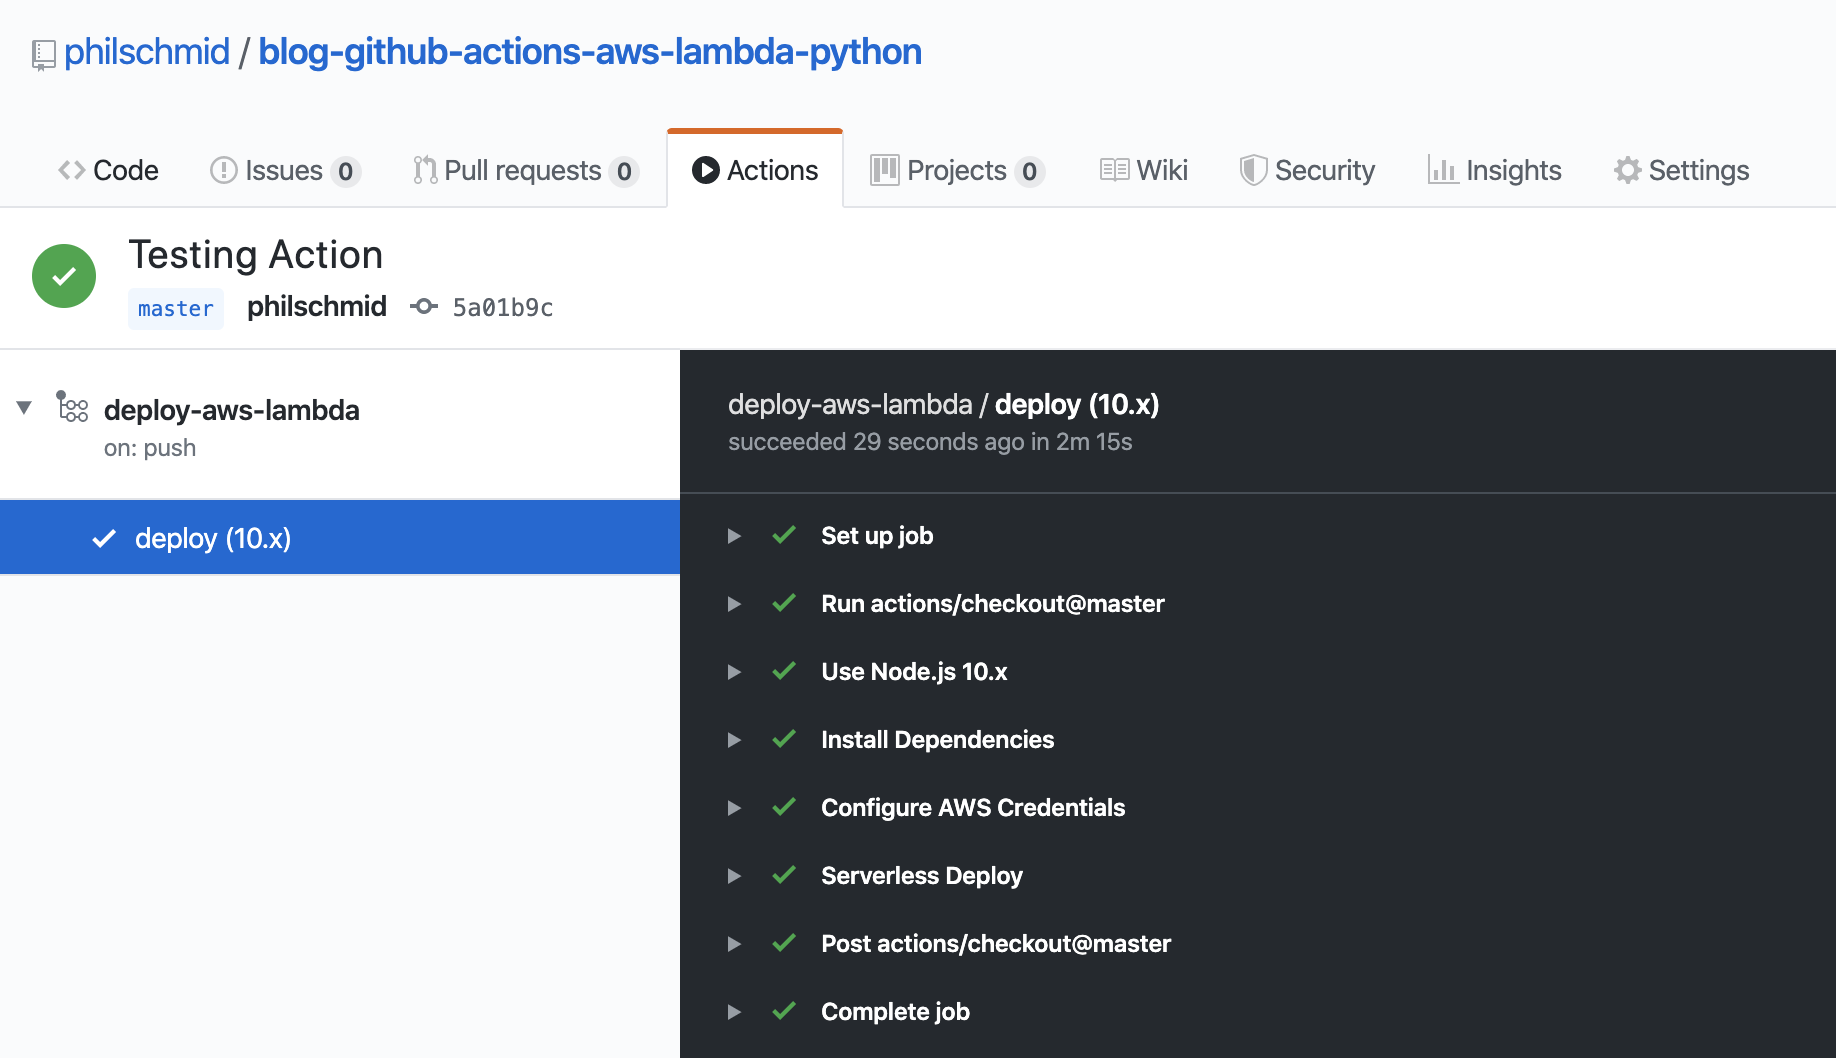
After a successful run of our Github Action, we can request our function again to see if it worked.

I created a demo repository with a full example. You can find the repository here. If something is unclear let me know and i will adjust it.