Getting started with Pytorch 2.0 and Hugging Face Transformers
On December 2, 2022, the PyTorch Team announced PyTorch 2.0 at the PyTorch Conference, focused on better performance, being faster, more pythonic, and staying as dynamic as before.
This blog post explains how to get started with PyTorch 2.0 and Hugging Face Transformers today. It will cover how to fine-tune a BERT model for Text Classification using the newest PyTorch 2.0 features.
You will learn how to:
- Setup environment & install Pytorch 2.0
- Load and prepare the dataset
- Fine-tune & evaluate BERT model with the Hugging Face
Trainer - Run Inference & test model
Before we can start, make sure you have a Hugging Face Account to save artifacts and experiments.
Quick intro: Pytorch 2.0
PyTorch 2.0 or, better, 1.14 is entirely backward compatible. Pytorch 2.0 will not require any modification to existing PyTorch code but can optimize your code by adding a single line of code with model = torch.compile(model).
If you ask yourself, why is there a new major version and no breaking changes? The PyTorch team answered this question in their FAQ: “We were releasing substantial new features that we believe change how you meaningfully use PyTorch, so we are calling it 2.0 instead.”
Those new features include top-level support for TorchDynamo, AOTAutograd, PrimTorch, and TorchInductor.
This allows PyTorch 2.0 to achieve a 1.3x-2x training time speedups supporting today's 46 model architectures from HuggingFace Transformers
If you want to learn more about PyTorch 2.0, check out the official “GET STARTED”.
Now we know how PyTorch 2.0 works, let's get started. 🚀
Note: This tutorial was created and run on a g5.xlarge AWS EC2 Instance, including an NVIDIA A10G GPU.
1. Setup environment & install Pytorch 2.0
Our first step is to install PyTorch 2.0 and the Hugging Face Libraries, including transformers and datasets.
# Install PyTorch 2.0 with cuda 11.7
!pip install "torch>=2.0" --extra-index-url https://download.pytorch.org/whl/cu117 --upgrade --quiet
Additionally, we are installing the latest version of transformers from the main git branch, which includes the native integration of PyTorch 2.0 into the Trainer.
# Install transformers and dataset
!pip install "transformers==4.27.1" "datasets==2.9.0" "accelerate==0.17.1" "evaluate==0.4.0" tensorboard scikit-learn
# Install git-fls for pushing model and logs to the hugging face hub
!sudo apt-get install git-lfs --yes
This example will use the Hugging Face Hub as a remote model versioning service. To push our model to the Hub, you must register on the Hugging Face. If you already have an account, you can skip this step. After you have an account, we will use the login util from the huggingface_hub package to log into our account and store our token (access key) on the disk.
from huggingface_hub import login

login(
  token="", # ADD YOUR TOKEN HERE
  add_to_git_credential=True
)
2. Load and prepare the dataset
To keep the example straightforward, we are training a Text Classification model on the BANKING77 dataset. The BANKING77 dataset provides a fine-grained set of intents (classes) in a banking/finance domain. It comprises 13,083 customer service queries labeled with 77 intents. It focuses on fine-grained single-domain intent detection.
We will use the load_dataset() method from the 🤗 Datasets library to load the banking77
from datasets import load_dataset

# Dataset id from huggingface.co/dataset
dataset_id = "banking77"

# Load raw dataset
raw_dataset = load_dataset(dataset_id)

print(f"Train dataset size: {len(raw_dataset['train'])}")
print(f"Test dataset size: {len(raw_dataset['test'])}")
Let’s check out an example of the dataset.
from random import randrange

random_id = randrange(len(raw_dataset['train']))
raw_dataset['train'][random_id]
# {'text': "I can't get google pay to work right.", 'label': 2}
To train our model, we need to convert our "Natural Language" to token IDs. This is done by a Tokenizer, which tokenizes the inputs (including converting the tokens to their corresponding IDs in the pre-trained vocabulary) if you want to learn more about this, out chapter 6 of the Hugging Face Course.
from transformers import AutoTokenizer

# Model id to load the tokenizer
model_id = "bert-base-uncased"
# Load Tokenizer
tokenizer = AutoTokenizer.from_pretrained(model_id)

# Tokenize helper function
def tokenize(batch):
    return tokenizer(batch['text'], padding='max_length', truncation=True, return_tensors="pt")

# Tokenize dataset
raw_dataset =  raw_dataset.rename_column("label", "labels") # to match Trainer
tokenized_dataset = raw_dataset.map(tokenize, batched=True,remove_columns=["text"])

print(tokenized_dataset["train"].features.keys())
# dict_keys(['input_ids', 'token_type_ids', 'attention_mask','lable'])
3. Fine-tune & evaluate BERT model with the Hugging Face Trainer
After we have processed our dataset, we can start training our model. We will use the bert-base-uncased model. The first step is to load our model with AutoModelForSequenceClassification class from the Hugging Face Hub. This will initialize the pre-trained BERT weights with a classification head on top. Here we pass the number of classes (77) from our dataset and the label names to have readable outputs for inference.
from transformers import AutoModelForSequenceClassification

# Model id to load the tokenizer
model_id = "bert-base-uncased"

# Prepare model labels - useful for inference
labels = tokenized_dataset["train"].features["labels"].names
num_labels = len(labels)
label2id, id2label = dict(), dict()
for i, label in enumerate(labels):
    label2id[label] = str(i)
    id2label[str(i)] = label

# Download the model from huggingface.co/models
model = AutoModelForSequenceClassification.from_pretrained(
    model_id, num_labels=num_labels, label2id=label2id, id2label=id2label
)
We evaluate our model during training. The Trainer supports evaluation during training by providing a compute_metrics method. We use the evaluate library to calculate the f1 metric during training on our test split.
import evaluate
import numpy as np

# Metric Id
metric = evaluate.load("f1")

# Metric helper method
def compute_metrics(eval_pred):
    predictions, labels = eval_pred
    predictions = np.argmax(predictions, axis=1)
    return metric.compute(predictions=predictions, references=labels, average="weighted")
The last step is to define the hyperparameters (TrainingArguments) we use for our training. Here we are adding the PyTorch 2.0 introduced features for fast training times. To use the latest improvements of PyTorch 2.0, we only need to pass the torch_compile option in the TrainingArguments.
We also leverage the Hugging Face Hub integration of the Trainer to push our checkpoints, logs, and metrics during training into a repository.
from huggingface_hub import HfFolder
from transformers import Trainer, TrainingArguments

# Id for remote repository
repository_id = "bert-base-banking77-pt2"

# Define training args
training_args = TrainingArguments(
    output_dir=repository_id,
    per_device_train_batch_size=16,
    per_device_eval_batch_size=8,
    learning_rate=5e-5,
	num_train_epochs=3,
	# PyTorch 2.0 specifics
    bf16=True, # bfloat16 training
	torch_compile=True, # optimizations
    optim="adamw_torch_fused", # improved optimizer
    # logging & evaluation strategies
    logging_dir=f"{repository_id}/logs",
    logging_strategy="steps",
    logging_steps=200,
    evaluation_strategy="epoch",
    save_strategy="epoch",
    save_total_limit=2,
    load_best_model_at_end=True,
    metric_for_best_model="f1",
    # push to hub parameters
    report_to="tensorboard",
    push_to_hub=True,
    hub_strategy="every_save",
    hub_model_id=repository_id,
    hub_token=HfFolder.get_token(),

)

# Create a Trainer instance
trainer = Trainer(
    model=model,
    args=training_args,
    train_dataset=tokenized_dataset["train"],
    eval_dataset=tokenized_dataset["test"],
    compute_metrics=compute_metrics,
)
We can start our training by using the train method of the Trainer.
# Start training
trainer.train()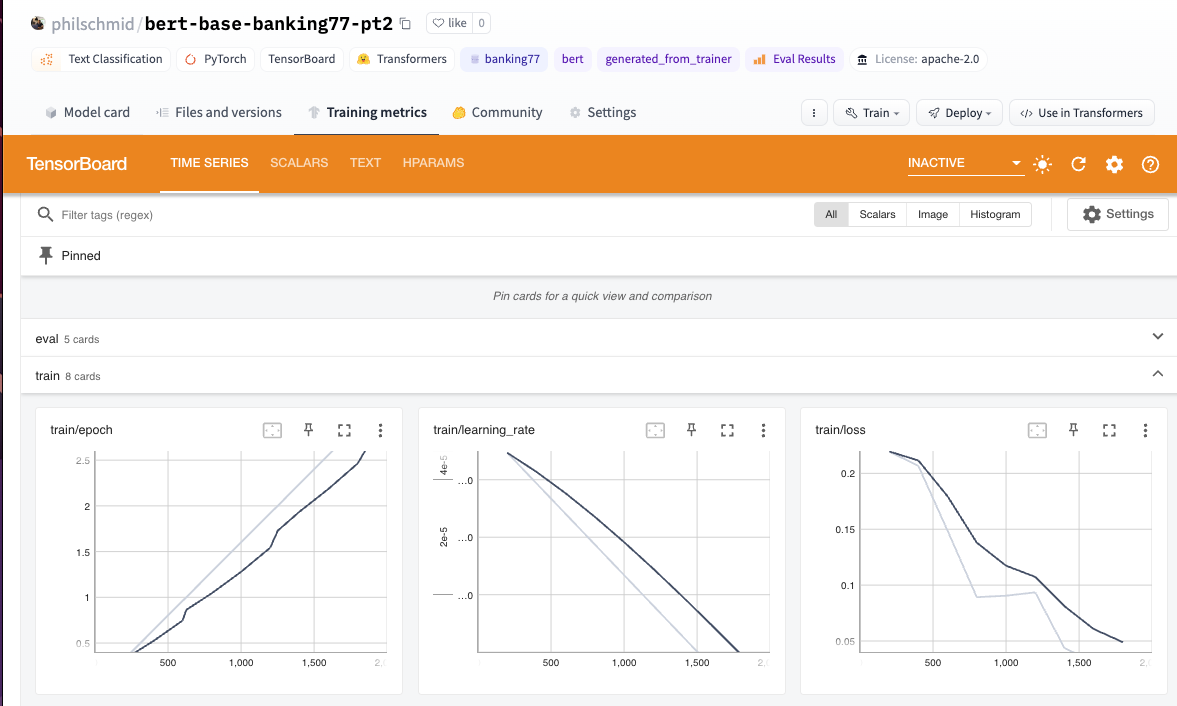
Using Pytorch 2.0 and supported features in transformers allows us train our BERT model on 10_000 samples within 457.7964 seconds.
We also ran the training without the torch_compile option to compare the training times. The training without torch_compile took 457 seconds, had a train_samples_per_second value of 65.55 and an f1 score of 0.931.
{'train_runtime': 696.2701, 'train_samples_per_second': 43.1, 'eval_f1': 0.928788}By using the torch_compile option and the adamw_torch_fused optimized , we can see that the training time is reduced by 52.5% compared to the training without PyTorch 2.0.
{'train_runtime': 457.7964, 'train_samples_per_second': 65.55, 'eval_f1': 0.931773}Our absoulte training time went down from 696s to 457. The train_samples_per_second value increased from 43 to 65. The f1 score is the same/slighty better than the training without torch_compile.
Pytorch 2.0 is incredible powerful! 🚀
Lets save our results and tokenizer to the Hugging Face Hub and create a model card.
# Save processor and create model card
tokenizer.save_pretrained(repository_id)
trainer.create_model_card()
trainer.push_to_hub()
4. Run Inference & test model
To wrap up this tutorial, we will run inference on a few examples and test our model. We will use the pipeline method from the transformers library to run inference on our model.
from transformers import pipeline

# load model from huggingface.co/models using our repository id
classifier = pipeline("sentiment-analysis", model=repository_id, tokenizer=repository_id, device=0)

sample = "I have been waiting longer than expected for my bank card, could you provide information on when it will arrive?"


pred = classifier(sample)
print(pred)
# [{'label': 'card_arrival', 'score': 0.9903606176376343}]
Conclusion
In this tutorial, we learned how to use PyTorch 2.0 to train a text classification model on the BANKING77 dataset. We saw that PyTorch 2.0 is a powerful tool to speed up your training times. In our example running on a NVIDIA A10G we managed to achieve 52.5% better performance. The Hugging Face Trainer allows you to easily integrate PyTorch 2.0 into your training pipeline by simply adding the torch_compile option to the TrainingArguments. We can further benefit from PyTorch 2.0 by using the new fused AdamW optimizer when bf16 is available.
Additionally, I want to mentioned that we reduced the training time by 52%, which could be interpreted in a cost saving of 52% for the training or in 52% faster iterations cycles and time to production. You should be able to see even better improvements by using A100 GPUs or by reducing the "Trainer" overhead, e.g. removing evaluation and logging.
PyTorch 2.0 is now officially launched and we are excited to see what the future brings. 🚀
Thanks for reading! If you have any questions, feel free to contact me on Twitter or LinkedIn.