The 10 Steps for product AI generation with Gemini 2.5 Flash
The most significant challenge in using AI for a product catalog is visual consistency. If the hero shot looks slightly different from the one in your detail shots, it erodes customer trust. Gemini 2.5 Flash Image Generation is our latest, fastest, and most efficient natively multimodal model. What makes Gemini special is its ability to understand both text and images together. This allows you to go beyond just creating pictures from words. You can upload an image and give text instructions to edit it, combine several pictures into one, or even apply the style of one image to another.
The Core Capabilities of Gemini 2.5 Flash for E-Commerce:
- Text-to-Image: Create brand new, high-quality product shots from just a text description.
- Image + Text Editing: Upload your existing product photo and use text to add props, change backgrounds, or modify elements.
- Multi-Image Composition: Combine multiple images—like a product and a model—to create a brand new, cohesive scene.
- Iterative Refinement: Chat with the model to make small tweaks until your image is pixel-perfect.
- High-Fidelity Text: Add crisp, clear promotional text directly onto your images for social media posts and banners.
This guide will walk you through the 10 e-commerce use cases for Gemini 2.5 Flash, transforming your visual content from a costly bottleneck into a creative asset.
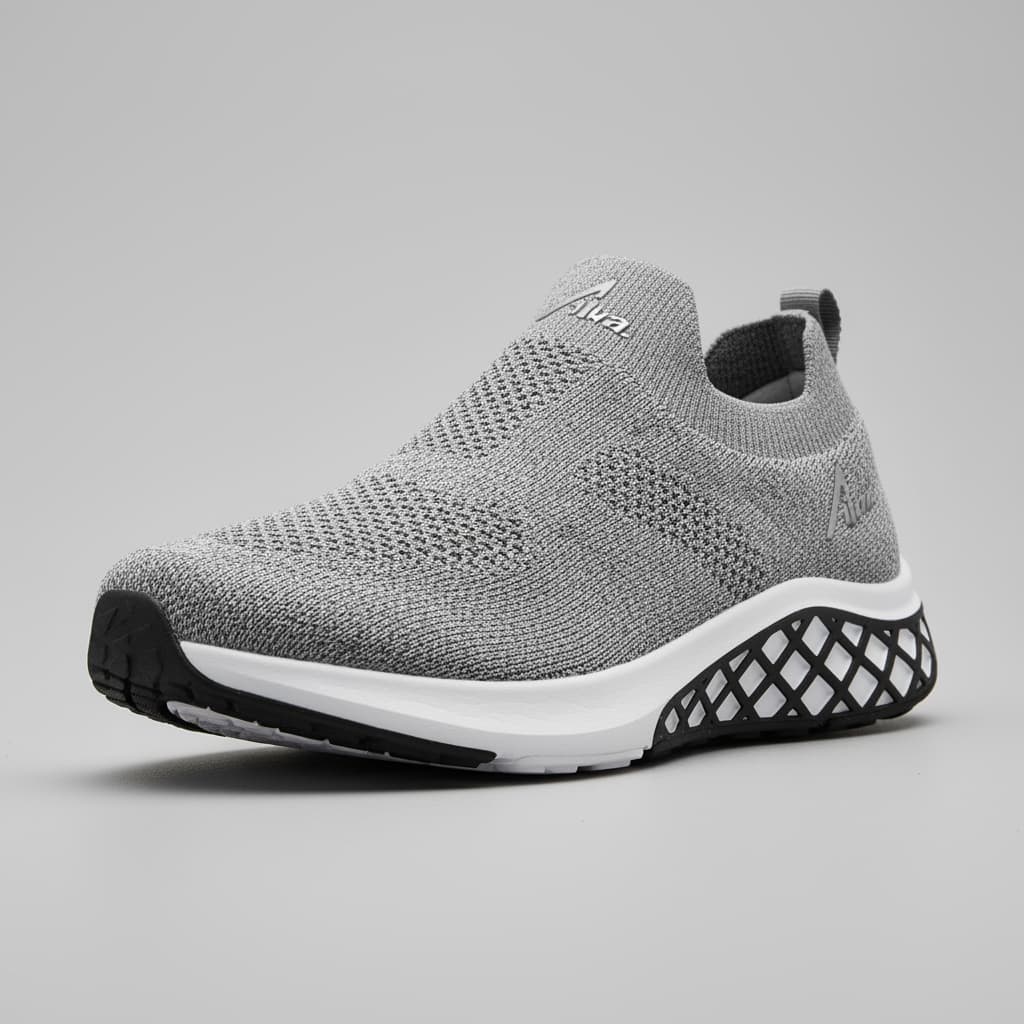
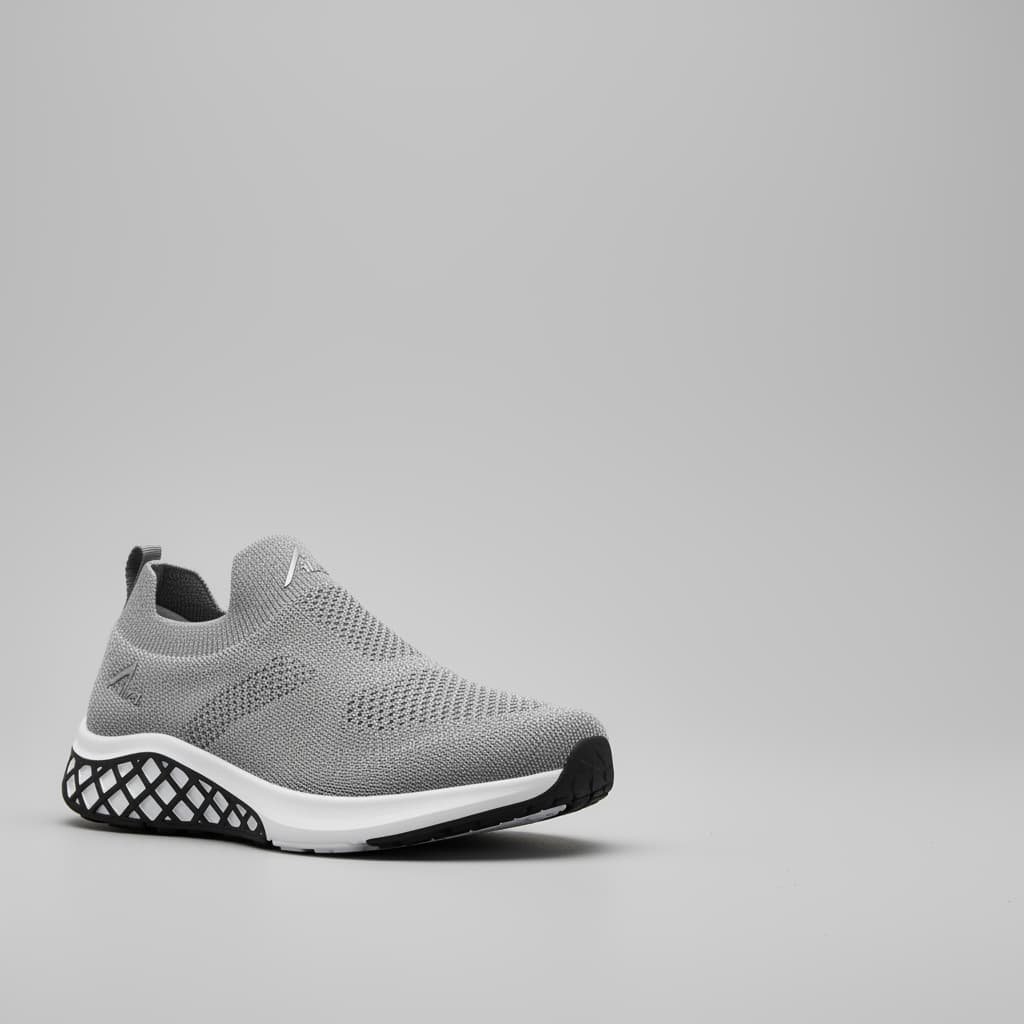
Step 1: Create the master product shot
First, we create our one perfect hero image using a detailed text prompt. This image will serve as our consistent visual anchor for all the steps that follow.
Note: This might be the only step you should do manually by taking a real photo. All other steps can be done with AI. If you don't have a high-quality photo of your product, you can use Gemini to edit it.
A high-resolution, studio-lit product photograph of a [product description] on a [background surface]. The lighting is a [lighting setup] to [lighting purpose]. The camera angle is a [angle type] to showcase [specific feature]. Ultra-realistic, with sharp focus on [key detail].
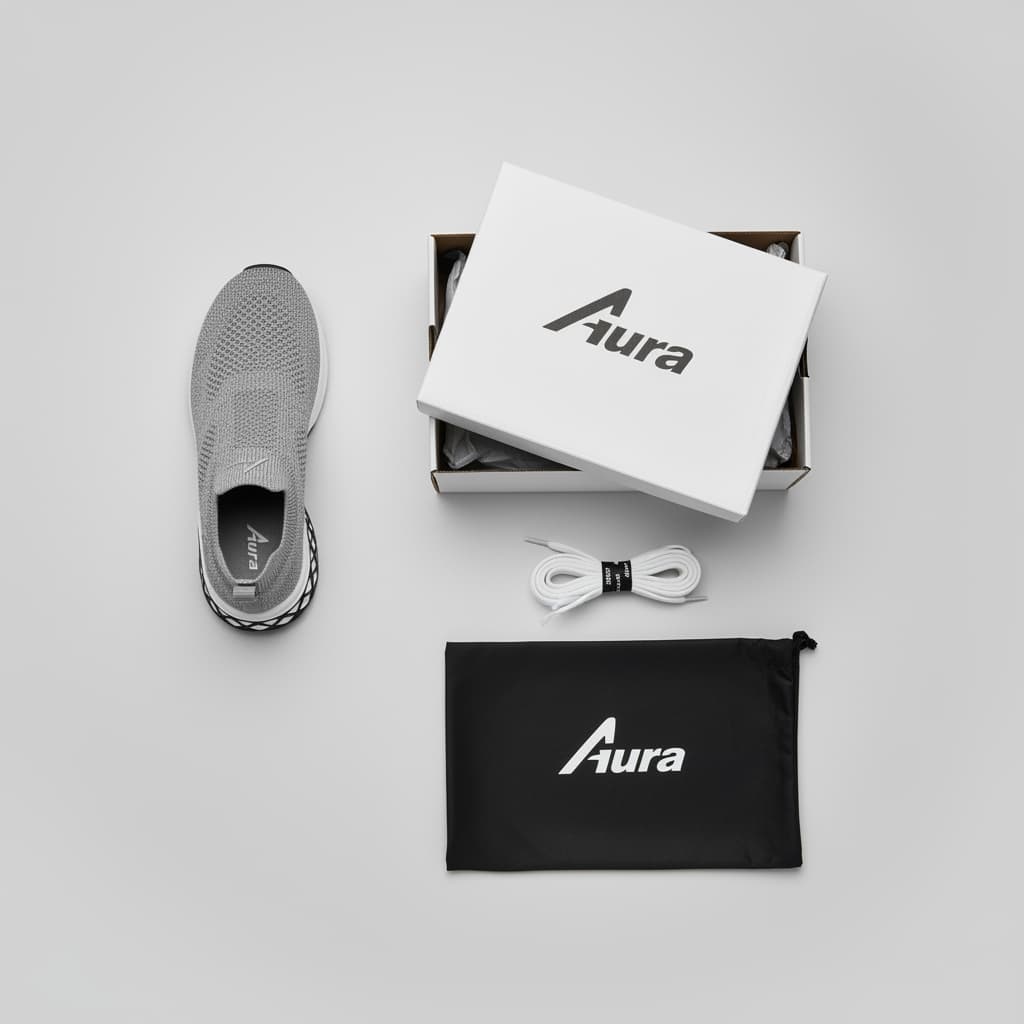
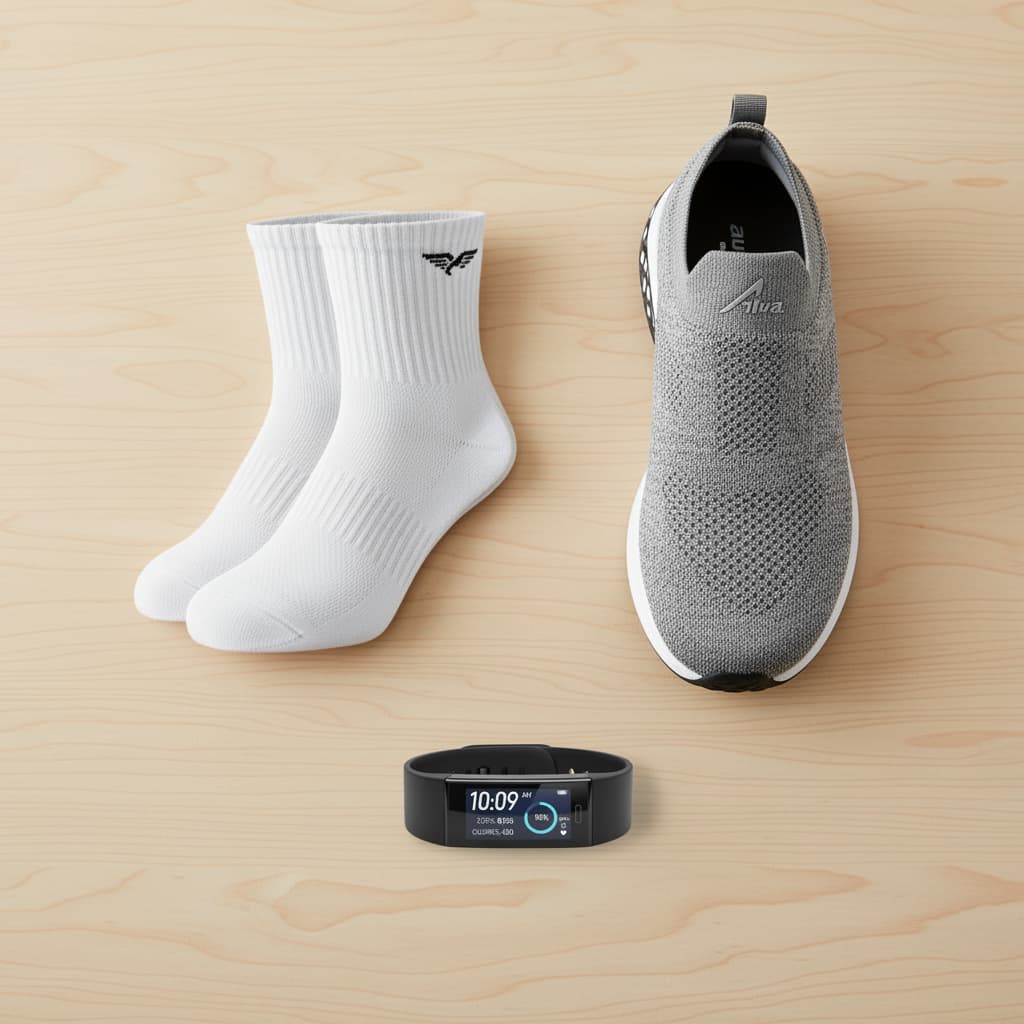
Step 2: Generate the what's-in-the-box flat lay
Using our master image ensures the sneaker in this new photo is identical to the one on the product page, reinforcing authenticity.
Using the provided master image of [product], create a top-down, neatly arranged "flat lay" photograph. Place the exact sneaker from the image alongside all its included items: [item 1], [item 2], [item 3]. The items should be on a [surface description].
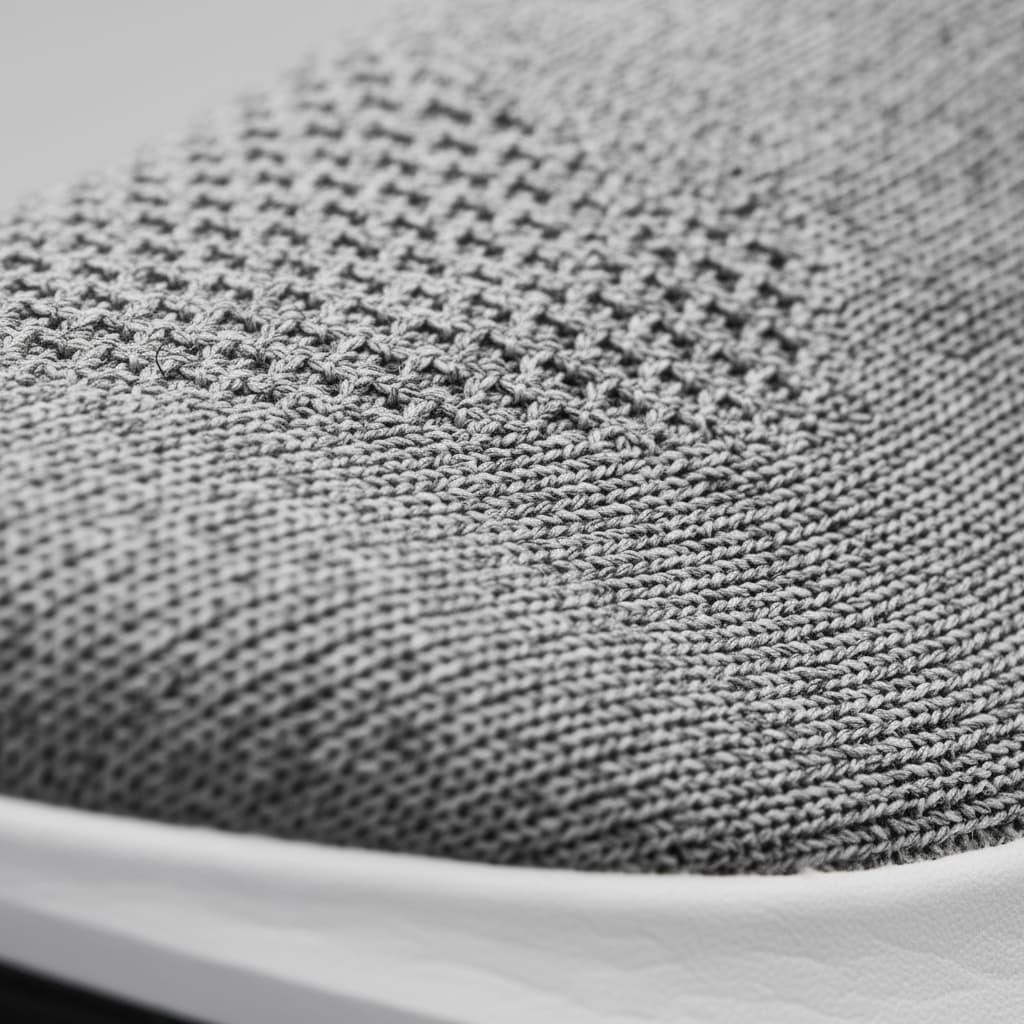
Step 3: Generate an extreme macro detail
We instruct Gemini to use our master image as the foundation, guaranteeing the lighting, colors, and textures are a perfect match.
Using the provided master image of [product], re-frame the shot to be an extreme macro photograph. Focus exclusively on the [specific feature], making it the hero of the new image. The lighting and style should be preserved from the original image.
Step 4: Show color/style variations
Displaying all options in a single image helps customers compare and choose. We edit our master shot to create variations.
Using the provided master image of [product], create a single composite image showing the original product side-by-side with its new variations: [variation 1 description] and [variation 2 description], all arranged against a clean background.

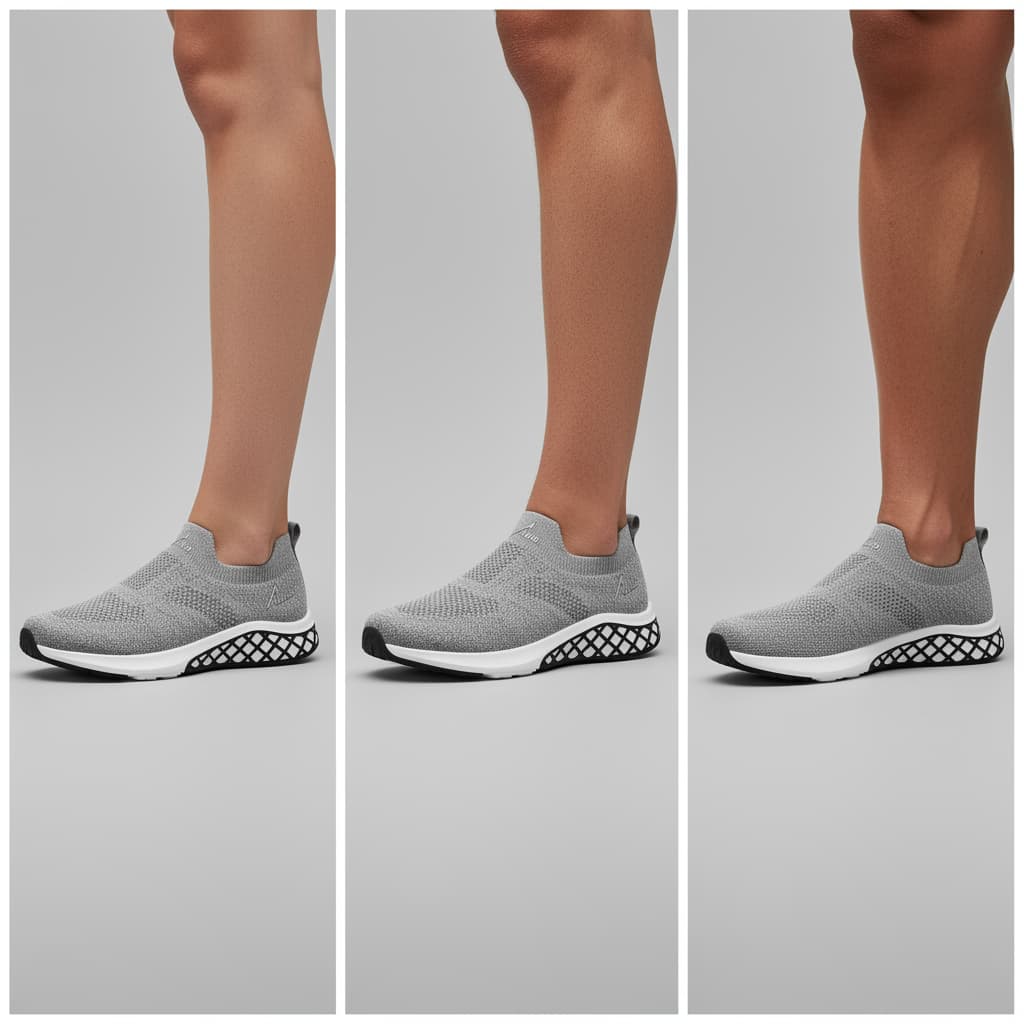
Step 5: Create on-foot size comparisons
Showing the sneaker on different feet is a powerful tool to prevent returns.
Using the provided image of [product], create a single composite image showing it on three different sized feet: one small, one medium, and one large. The shots should be from the same angle to make comparison easy.
Step 6: Add a model via two-image composite
To ensure the highest consistency, we can generate our brand's model in a separate step before adding the product. This gives us precise control over the model's appearance and pose.
Using the provided image of [product], create a close-up photograph of a [model description] actively using it. The focus is on the action of [describe the action], demonstrating the [specific feature].
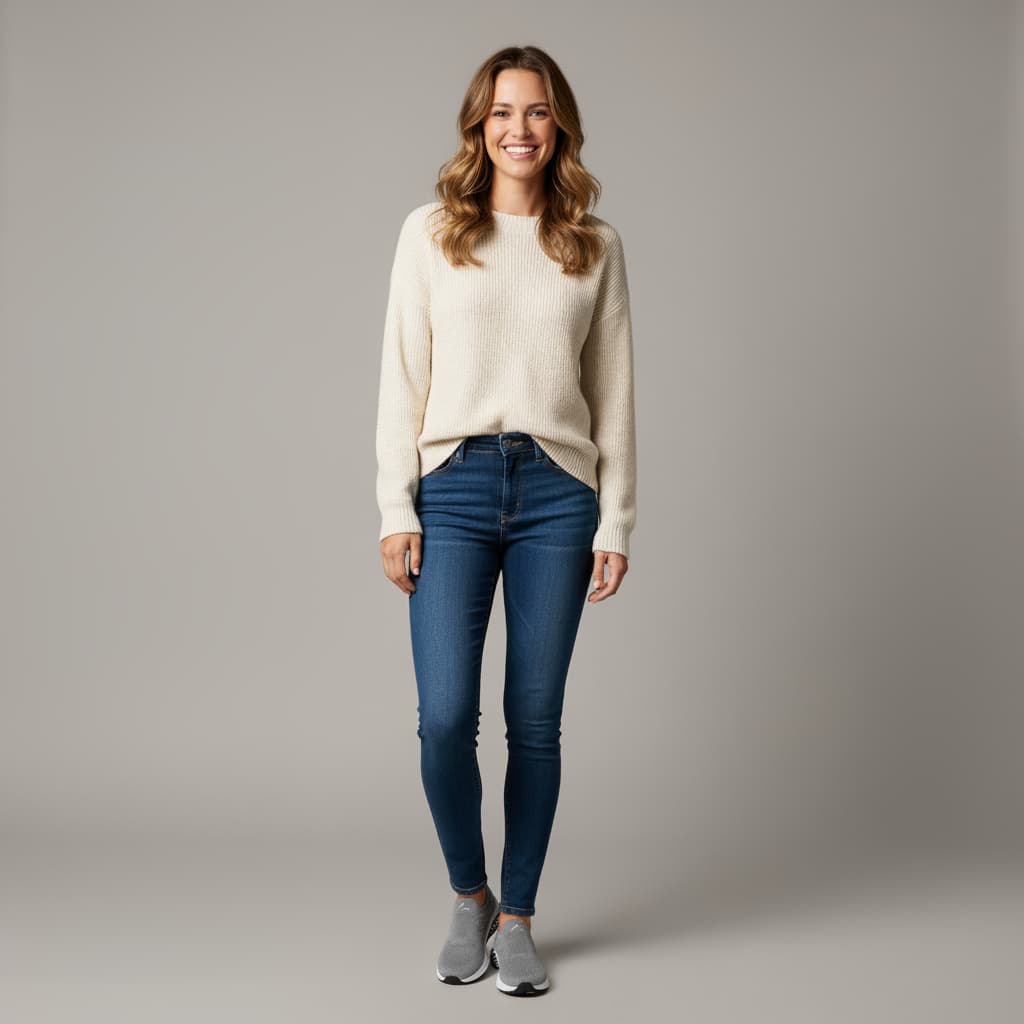
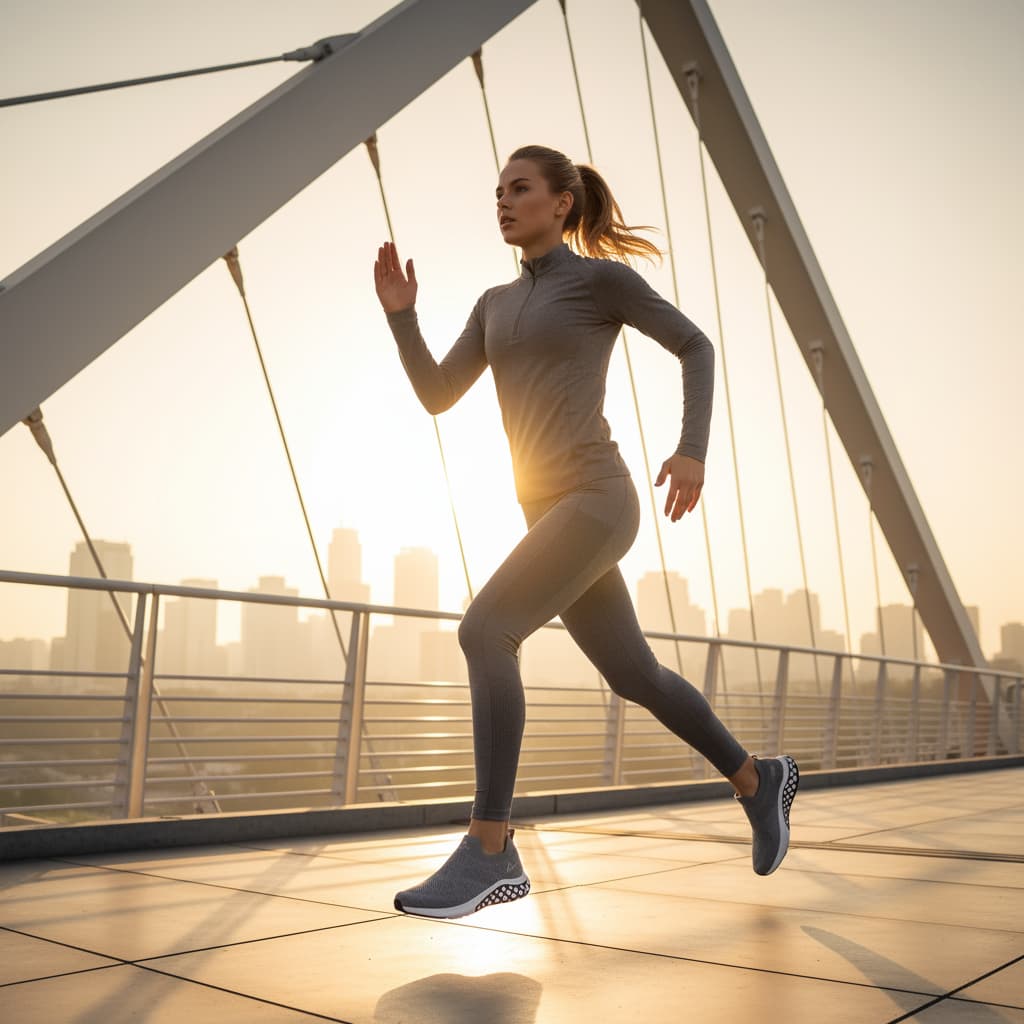
Step 7: Generate a lifestyle action shot
Now we'll place our consistent model and product into a full lifestyle scene. By referencing the master product shot, we ensure the sneaker is perfectly rendered, while the text prompt builds the complete environment around it. This is more efficient than creating a separate background and trying to composite images together.
Using the provided image of [product], create a photorealistic lifestyle scene. The shot should feature the [model description] wearing the product while [performing an action] in a [location description]. The lighting and mood should be [lighting/mood description].
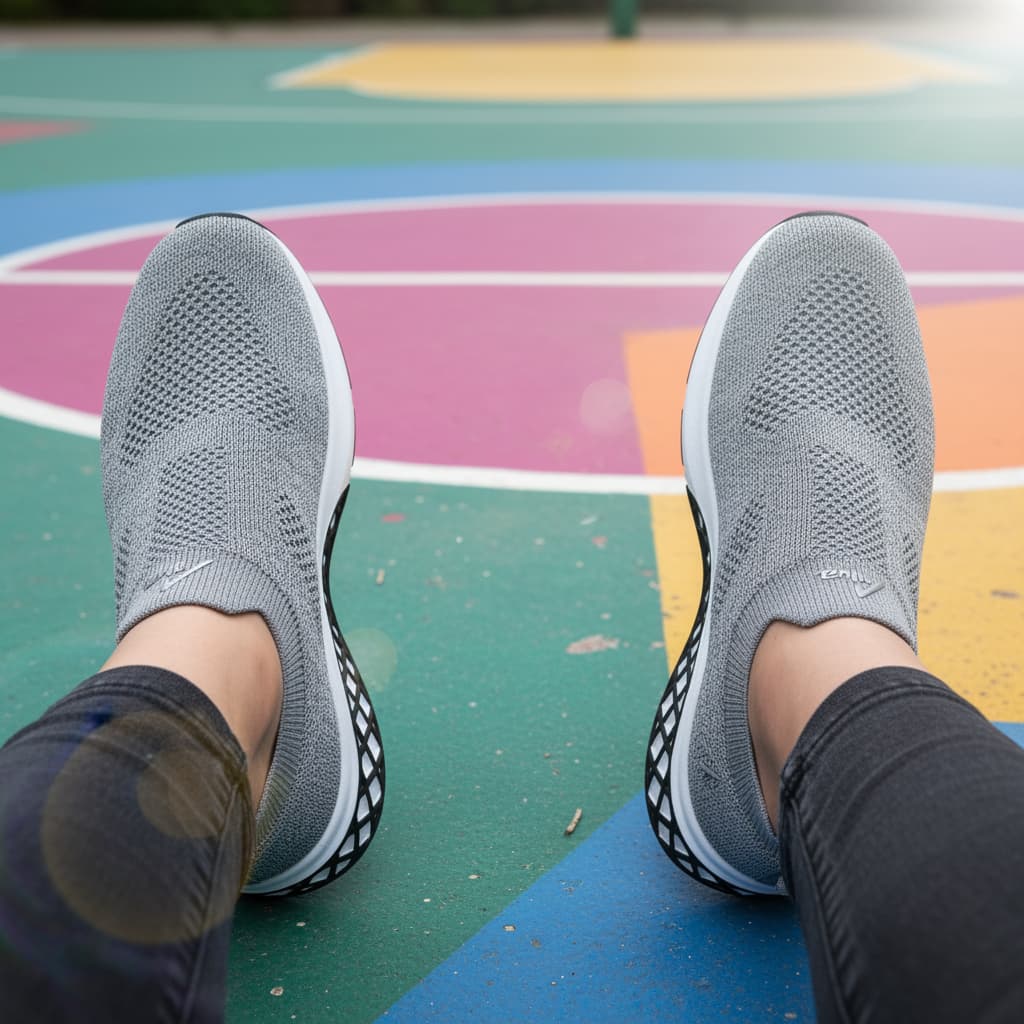
Step 8: Create UGC-style photos
Generate authentic-looking "customer photos" to build trust and relatability on social media.
Using the provided image of [product], generate a realistic, user-generated style photo of it being used in an everyday situation. The style should look like a high-quality smartphone photo, slightly casual, with natural lighting.
Step 9: Make a negative-space banner
Create images designed for ad copy instead of slapping text over a busy photo.
Using the provided image of [product], create a minimalist composition featuring the sneaker positioned in the [bottom-right/top-left/etc.] of the frame. The background should be a [background description], creating significant negative space for text.
Step 10: Build a shop-the-look flat lay
To create a "Shop the Look" image, providing exact images of other products is far better than just describing them. This ensures the composite photo is an accurate representation of the specific items you actually sell, creating a perfectly curated upsell opportunity.
Create a new composite product photo by combining the items from the provided images. Take the [product 1 from image 1], the [product 2 from image 2], and the [product 3 from image 3]. Arrange them in a [style of arrangement, e.g., clean flat lay] on a [surface description].
Conclusion
In ten steps, we have built a comprehensive visual asset library for a single product that covers the entire customer journey. By starting with a "single source of truth" master image, we can ensure product consistency across every shot—from technical details to aspirational lifestyle scenes.
AI image generation with models like Gemini 2.5 Flash is fundamentally changing the e-commerce landscape. It democratizes professional-quality product photography, allowing brands of all sizes to create stunning, diverse, and on-brand visuals at a fraction of the cost and time.